Appearance
How to set up your library's website
Every library on Librarify gets a public website at its own address, such as yourlibrary.librarify.in. Members can see your seats and prices there, sign up and book. You change it from Settings → Website.
Who can do thisOwner, Org admin by default, or any staff role given Org Settings → Manage in Settings → Staff role permissions.
Before you start
The website takes your library's name, logo, opening hours, phone and email from your library settings. Check them first:
- Name and opening hours: Settings → Organization → General (see Opening hours).
- Logo and colours: Settings → Organization → Appearance (see Logo and brand colour).
Set up your website
- In the left menu, click Settings, then open the Website tab.
- On General, pick a homepage design and click Save changes. See Homepage designs.
- Work through the sections on the left: Hero, Services, Facilities, Gallery, Hours & pricing, FAQ, Footer & social and SEO & sharing. See Website sections.
- In each section, change the text and click that section's Save changes. Each section saves on its own.
- Click Open live site to see your website.
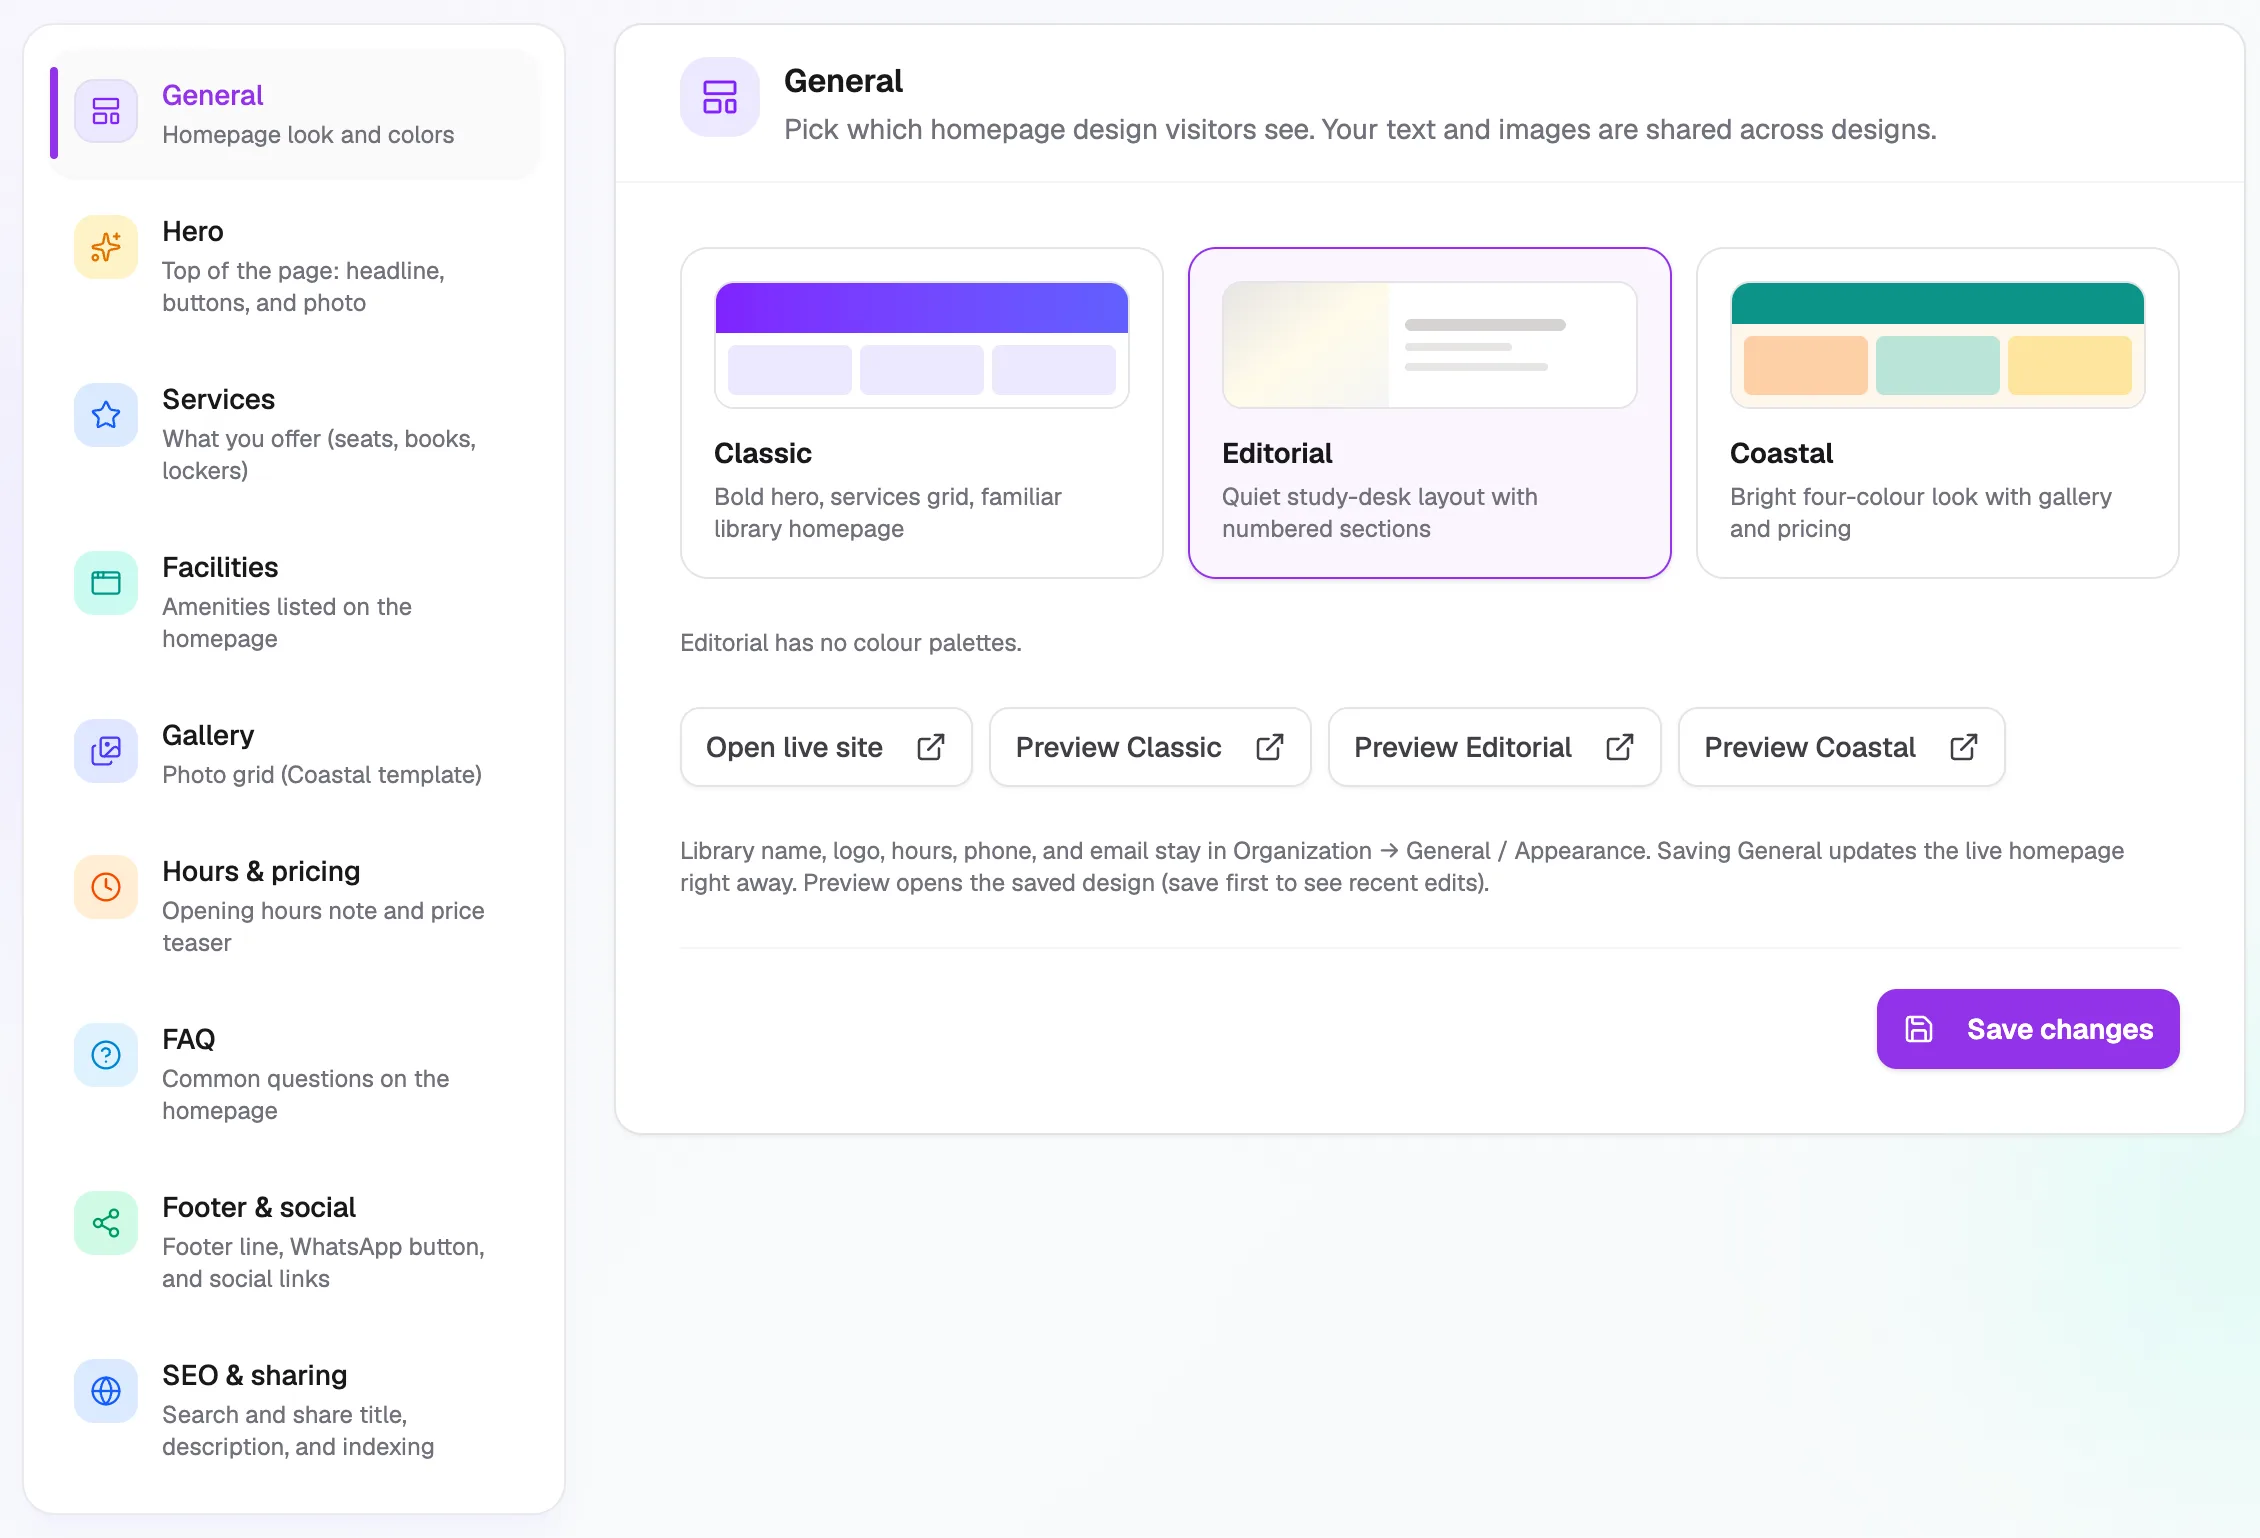
- SectionsOne for each part of the homepage
- Homepage designClassic, Editorial or Coastal
- Open live siteSee your website
- Save changesUpdates the live homepage
Auto-fill words
Many text boxes show Auto-fill words: {{orgName}}, {{city}}, {{price}}, {{phone}} and {{email}}. Click a text box, then click a word to add it. On the live page it becomes your library name, city, price, phone or email, so the text stays right when those change.
What happens next
- Saved changes show on the live homepage straight away.
- If you switch section or leave with unsaved changes, Librarify asks Leave without saving?. Click Keep editing to go back and save, or Discard changes to throw them away.
- To use your own address, such as
yourlibrary.com, see Custom domain.