Appearance
How dynamic UPI QR payments work
With Dynamic QR, members pay straight into your UPI ID. Librarify makes a fresh QR for each booking with the exact amount and the receipt number, so you can match payments easily. You don't need a gateway account, but staff confirm each payment themselves.
Who can do thisOwner, Org admin by default, or any staff role given Integrations → Manage and Org Settings → Manage in Settings → Staff role permissions.
Set it up
- Open Settings → Integrations → Payment Gateways.
- Under Checkout methods, turn on Dynamic QR.
- Under UPI payment account, enter your UPI ID (VPA), such as
library@oksbi, and the Payee display name (your registered business or bank name). - Click Save.
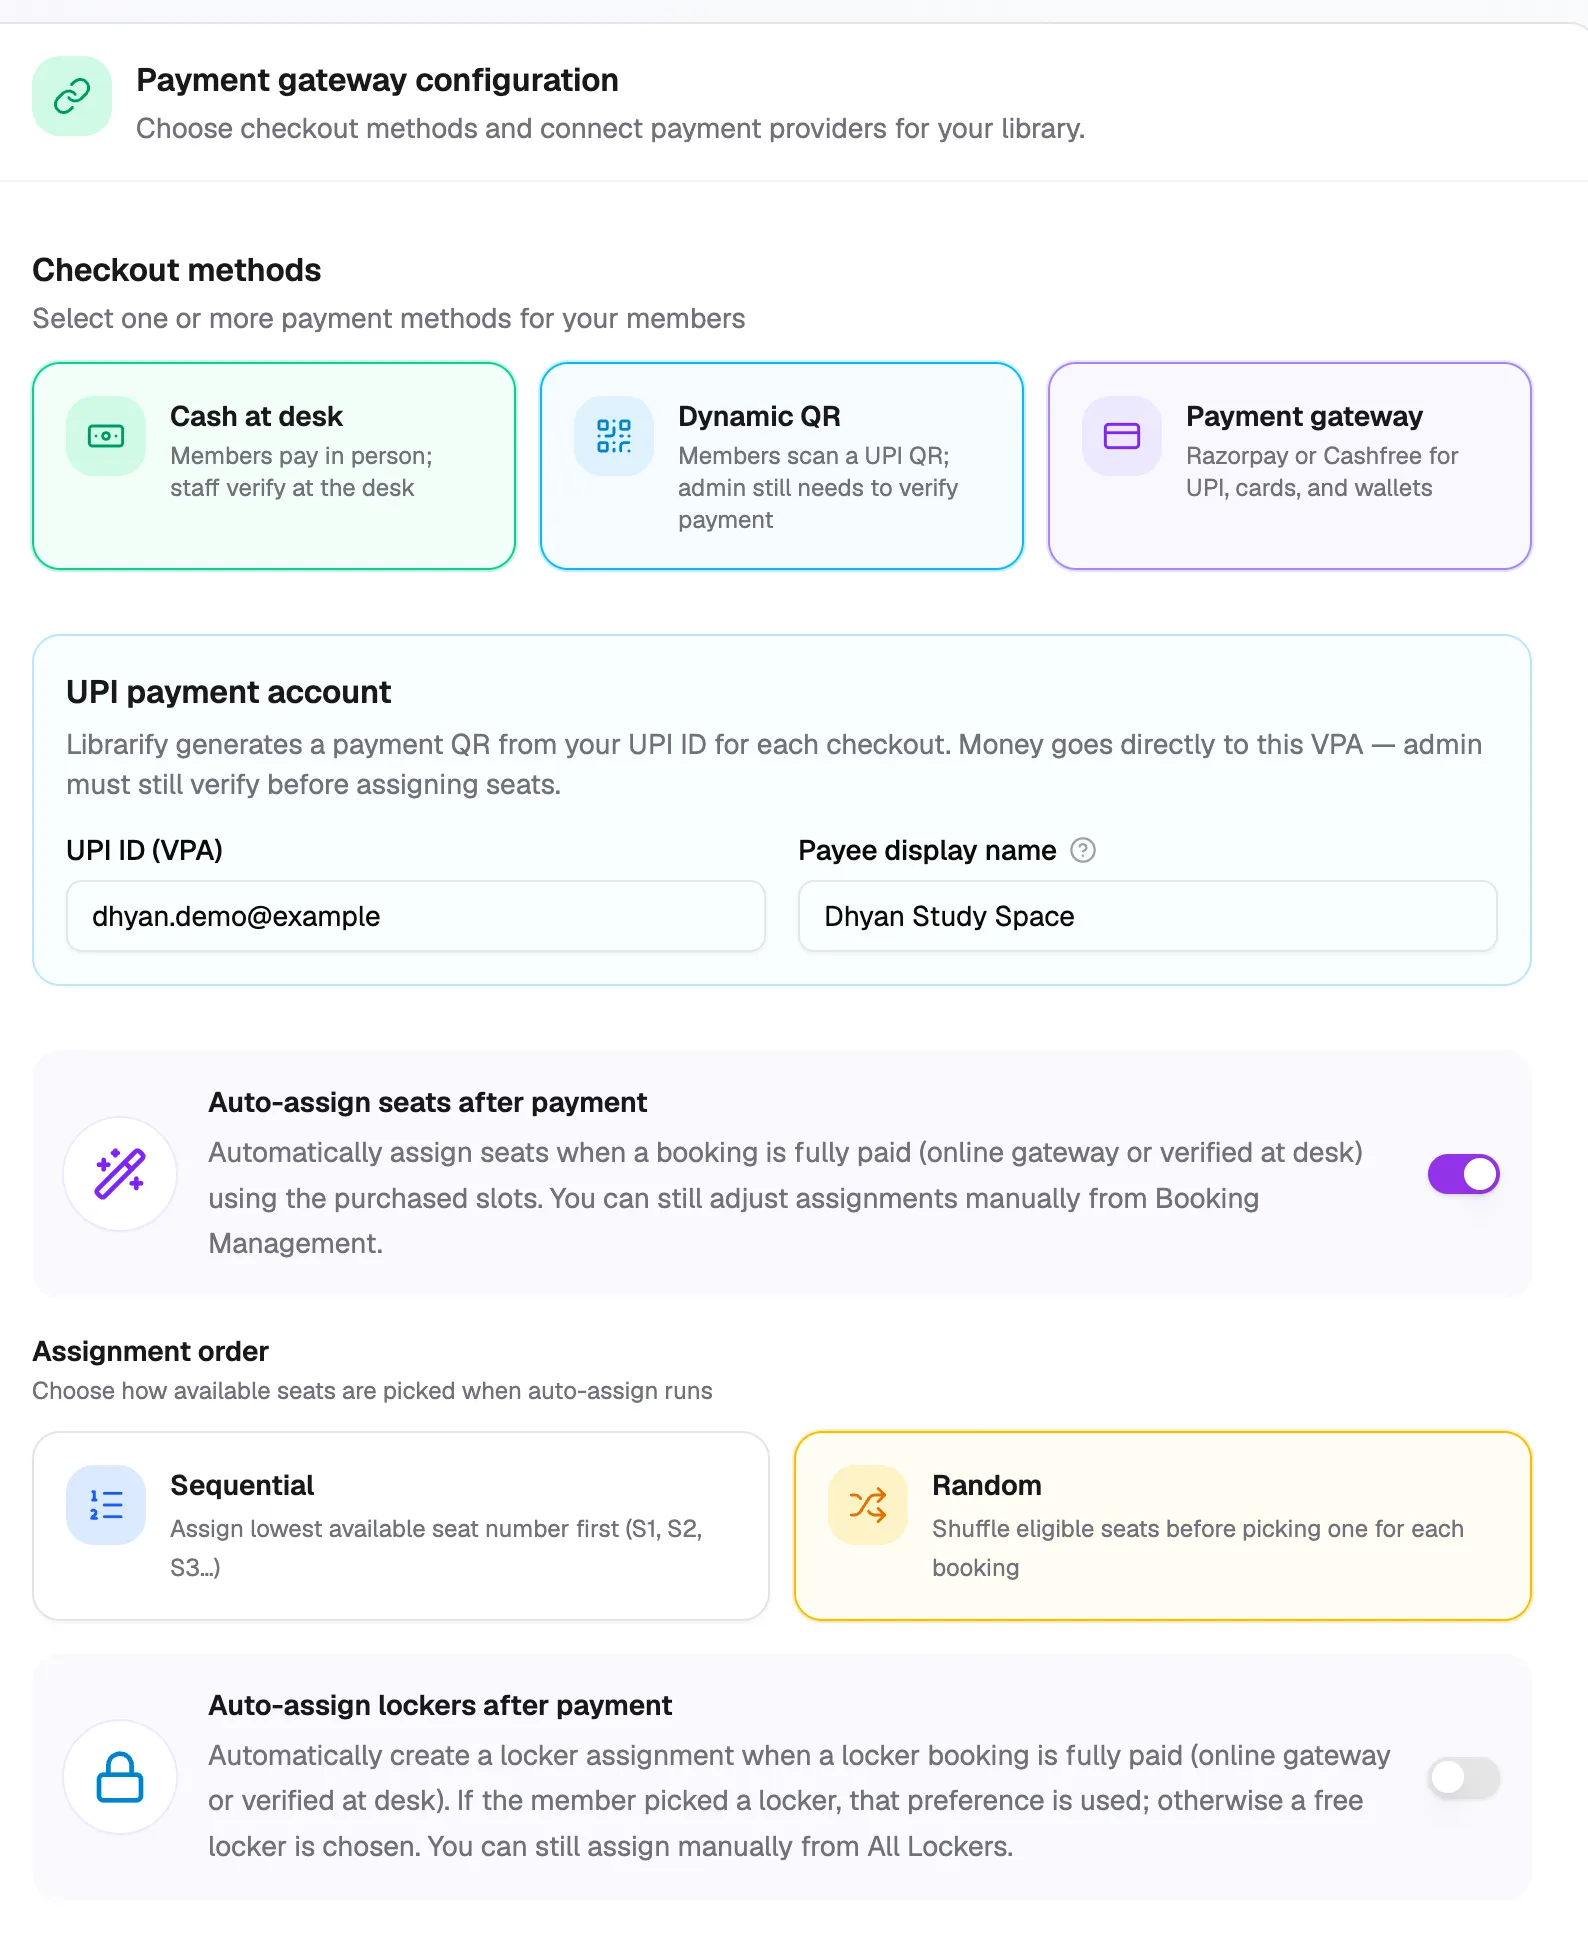
- Dynamic QRTurn it on
- UPI ID (VPA)Payments go here
How a member pays
- At checkout, the member chooses Dynamic QR: "Scan UPI QR or open your UPI app — staff verifies payment".
- They scan the QR with any UPI app (Google Pay, PhonePe, Paytm, BHIM and others) and pay. The amount and the receipt number are already filled in.
- They can enter the payment's UTR (transaction reference) to help you find it.
Verify the payment
Anyone who can record payments on Receipts can do this: Owner, Org admin and Moderator by default, or a staff role given Receipts / bookings → Create / record payment.
- Go to Receipts, open the receipt's ⋮ menu and click Verify payment.
- The dialog shows the Amount, the Receipt to look for (it's in the UPI payment message) and the Member-submitted UTR, if they gave one. When there's a UTR, the first box reads UTR to look for instead.
- In your UPI or bank app, find a payment with the same amount and the receipt number in its remarks, or the same UTR. Prefer the bank UTR when you have it.
- Click Approve payment only after you see the amount credited.
The receipt is then marked paid, and the seat or locker is assigned if auto-assign is on.