Appearance
How to add, edit and remove members
Members are the students and readers who book seats in your library. Staff (moderators and admins) are added the same way, with a different role.
Who can do thisOwner, Org admin by default, or any staff role given Users → Create / edit / roles in Settings → Staff role permissions.
Find your members
In the left menu, click Users. Library Users shows totals at the top and every member in a list. Search by name, email or phone, or filter by Role, Status or Assignment.
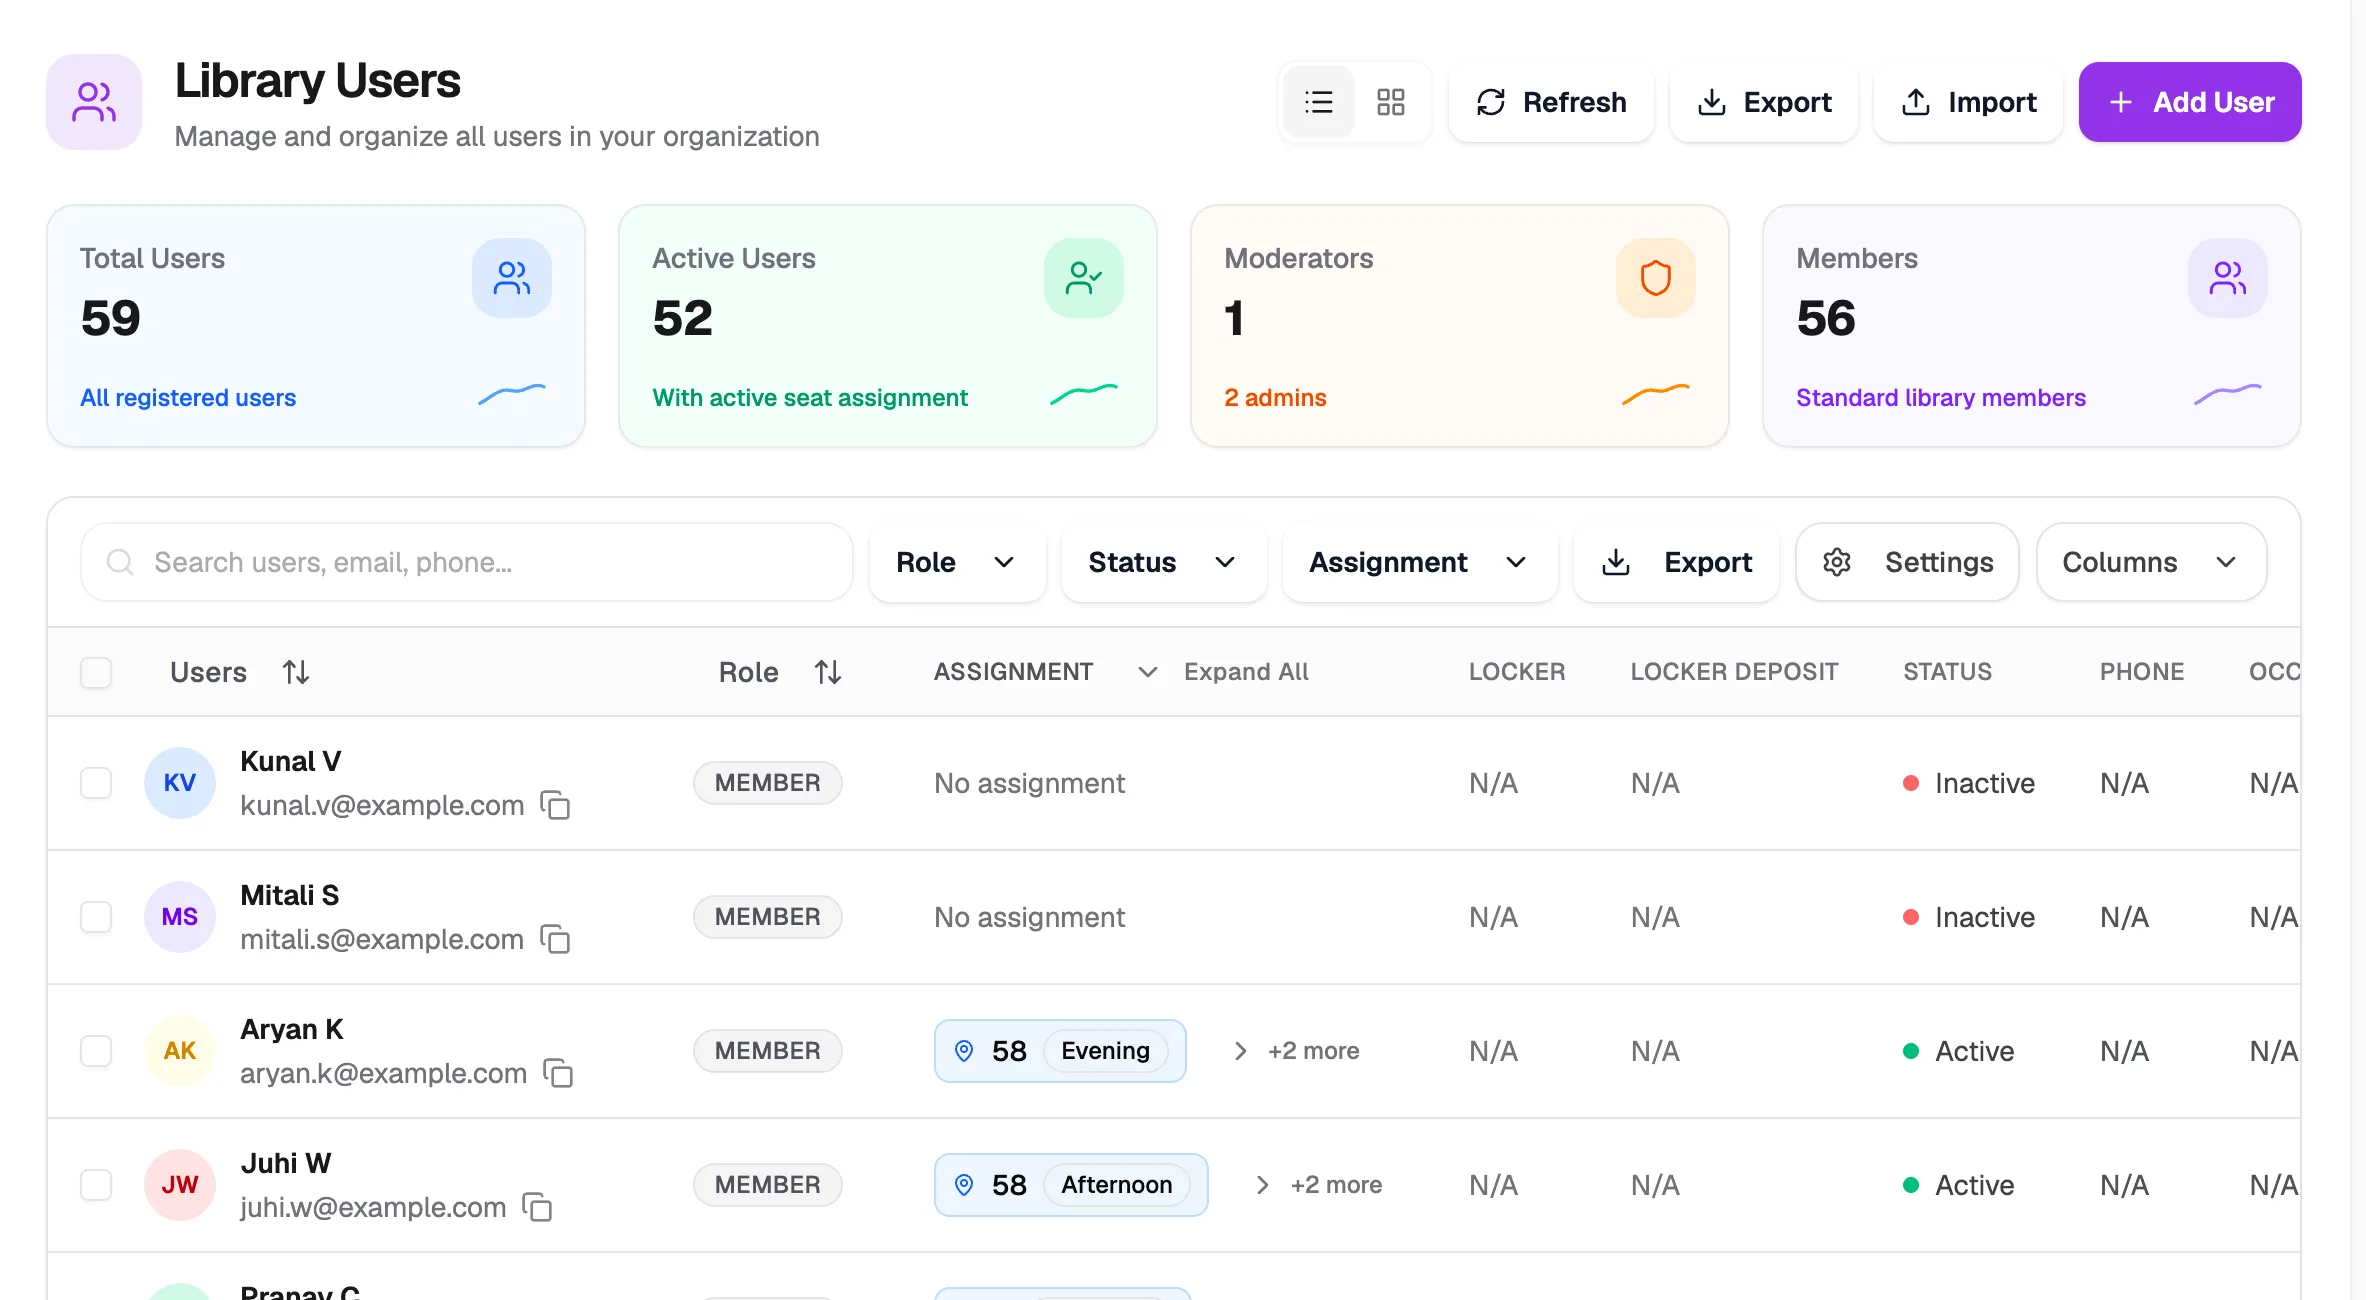
- Add UserAdd one member
- ImportAdd many members from a file
- SearchFind by name, email or phone
Add a member
- On Library Users, click Add User.
- Under Basic Information, enter the Email Address and Full Name. Phone Number, date of birth and Address are optional.
- Under Professional Details:
- Occupation is optional, for example "UPSC aspirant".
- Student/Employee ID: leave it empty and Librarify creates one from your UID pattern, or type your own.
- Choose a Role: Member (standard access), Moderator (manages content and users) or Admin (full access). To choose what each staff role can do, see Roles and permissions.
- Optional: under Documents & Photos, upload a profile picture, a document and a photo ID.
- Check Review & Confirm, then click Create User.
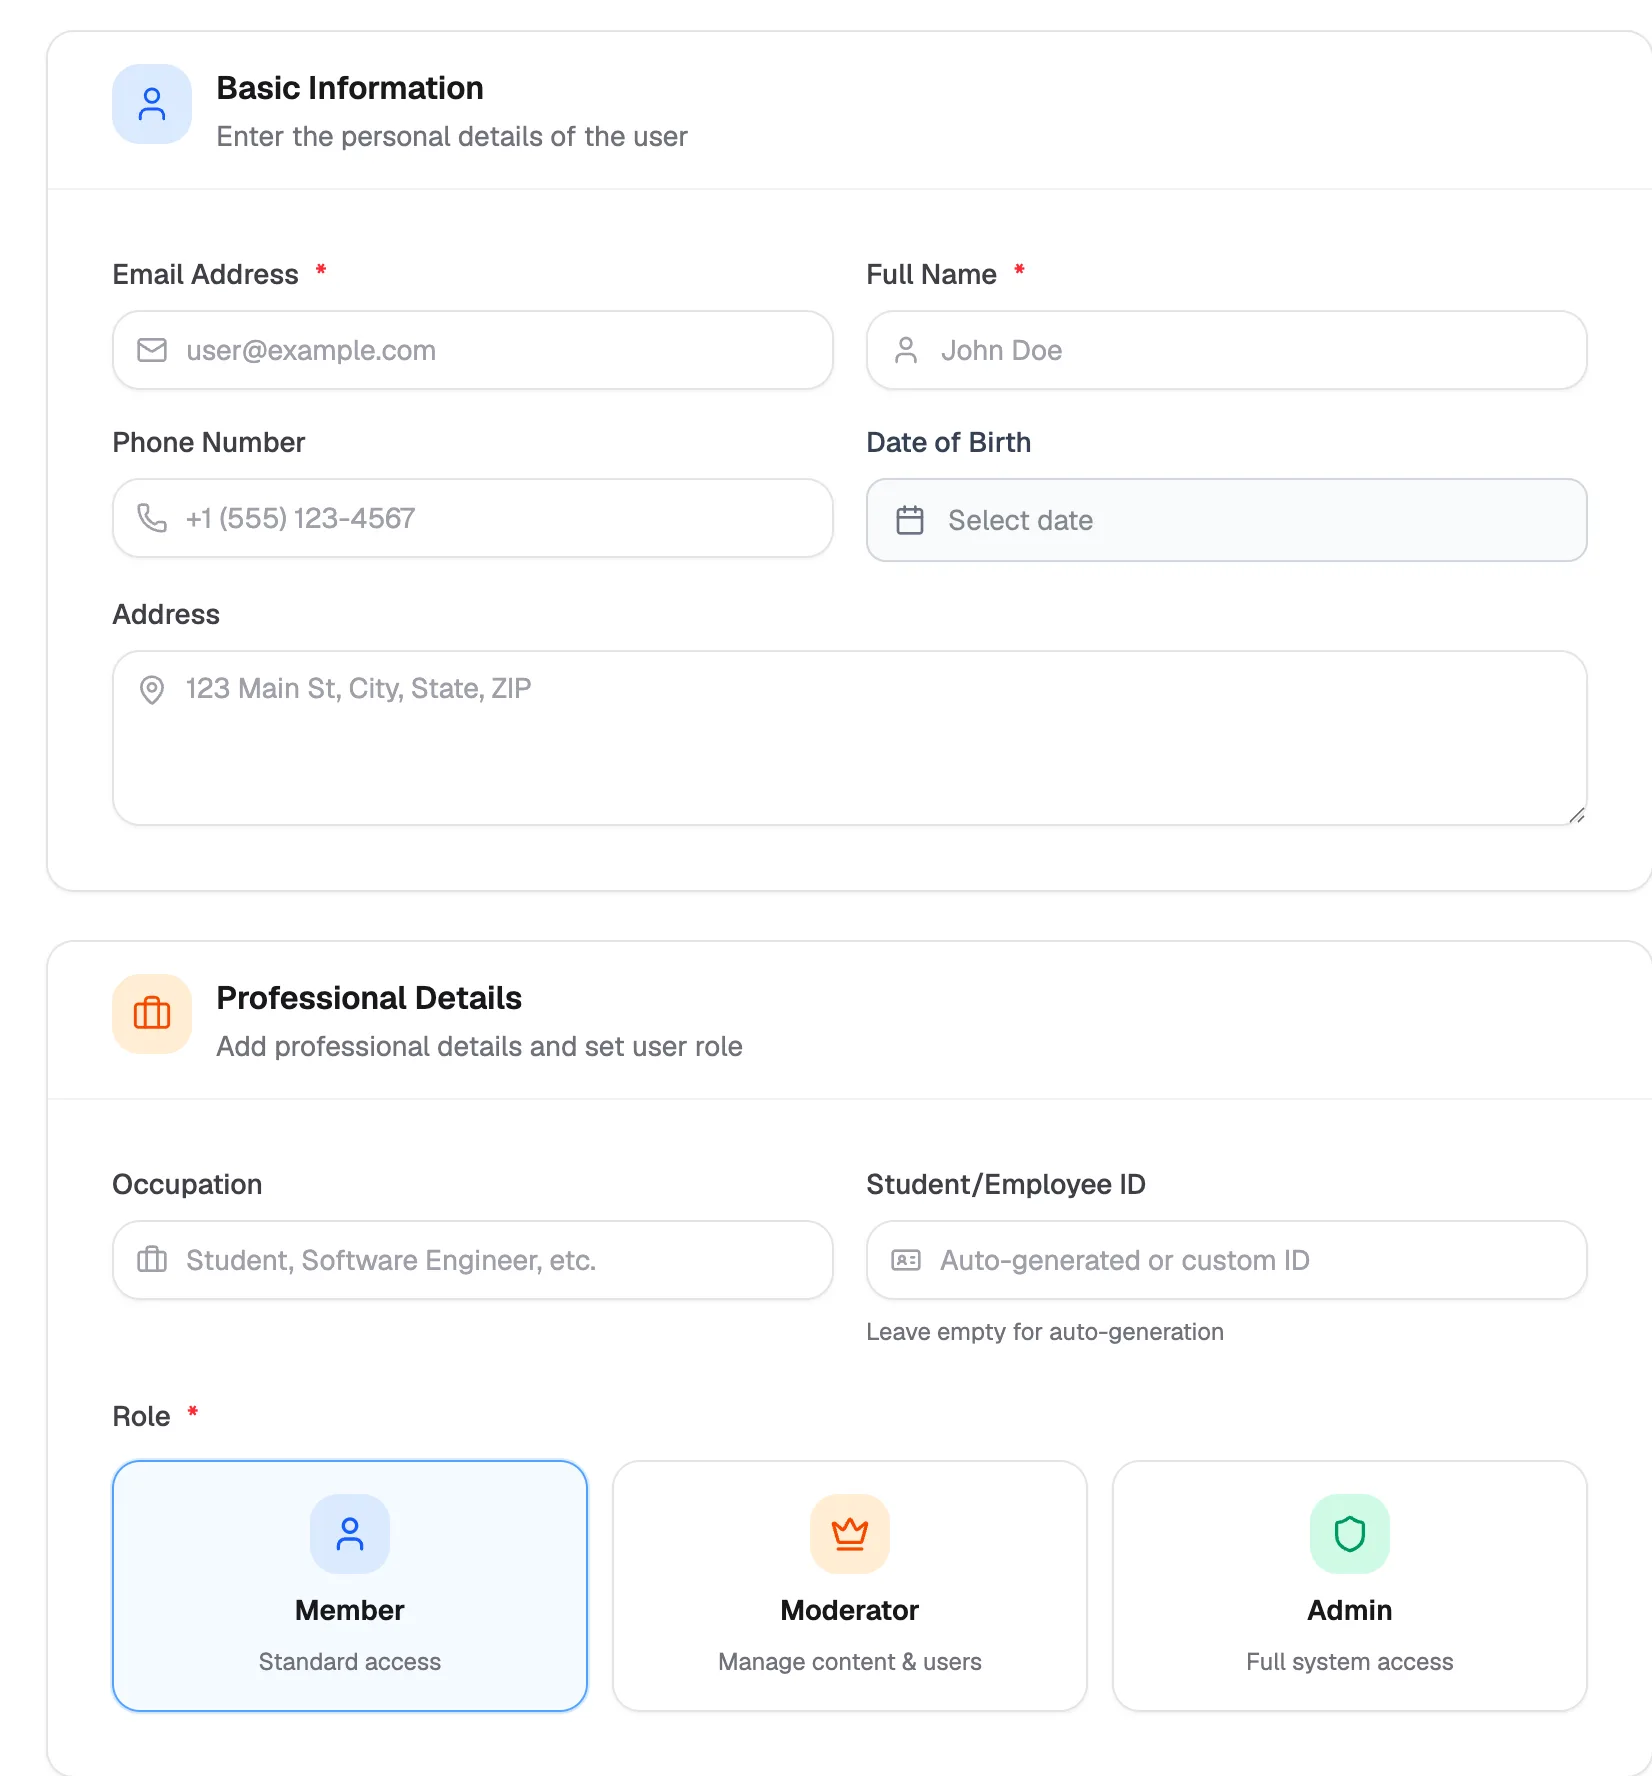
- Email AddressRequired, used to sign in
- Full NameRequired
- Student/Employee IDLeave empty to generate
- RoleMember, Moderator or Admin
You see "User added successfully". Librarify emails the new member a link to set their password. They then sign in on your library's sign-in page (see How to log in).
View or edit a member
- On Library Users, click the ⋮ menu at the end of the member's row.
- Click View user to see their profile and bookings, or Edit user to change their details.
- On the edit page, make your changes and click Save Changes.
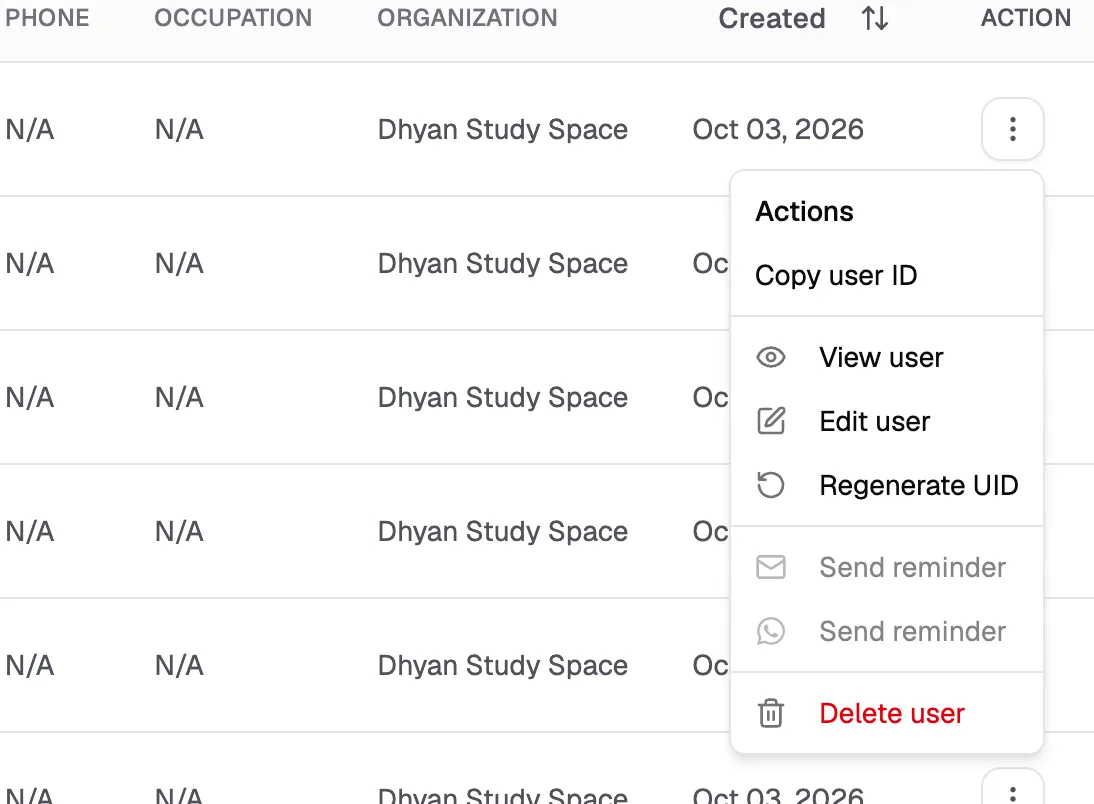
- View userProfile and bookings
- Edit userChange details or role
- Regenerate UIDGive them a new ID
- Delete userRemove from your library
Remove a member
- Open the member's ⋮ menu and click Delete user.
- Read the message, then click Delete, or Cancel to keep them.
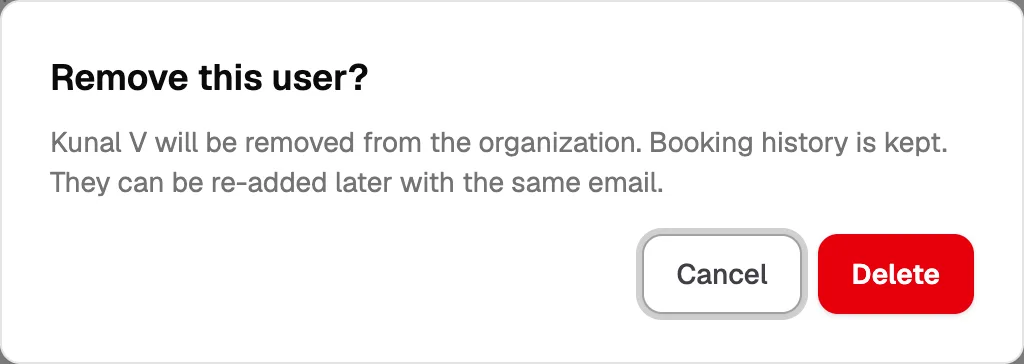
- CancelKeep the member
- DeleteRemove them from your library
What removing does:
- The member is removed from your library, but their booking history is kept.
- Any active seat bookings they have are deactivated.
- You can add them back later with the same email.